Your Dashboard
The first page that you will see is a list of the last 50 orders.
On the top of the dashboard there are three action buttons:
- New and Existing Orders
- Remove Board
- Action Required
To search for a particular order, type in the relevant information into the search bar that is located at the top of the list.

Dashboard with your Job Card
From the list you will be able to see an overview of your order, your product/s, the status alongside a progress bar.
Clicking on the Job ID or the Property Address will open a job card where you can find detailed information and actions of your order.
New Orders
To create a new property, select New and Existing Orders, then type in the required details.

The suburb can be selected from the list and the Postcode and region will be auto populated based on suburb selection.
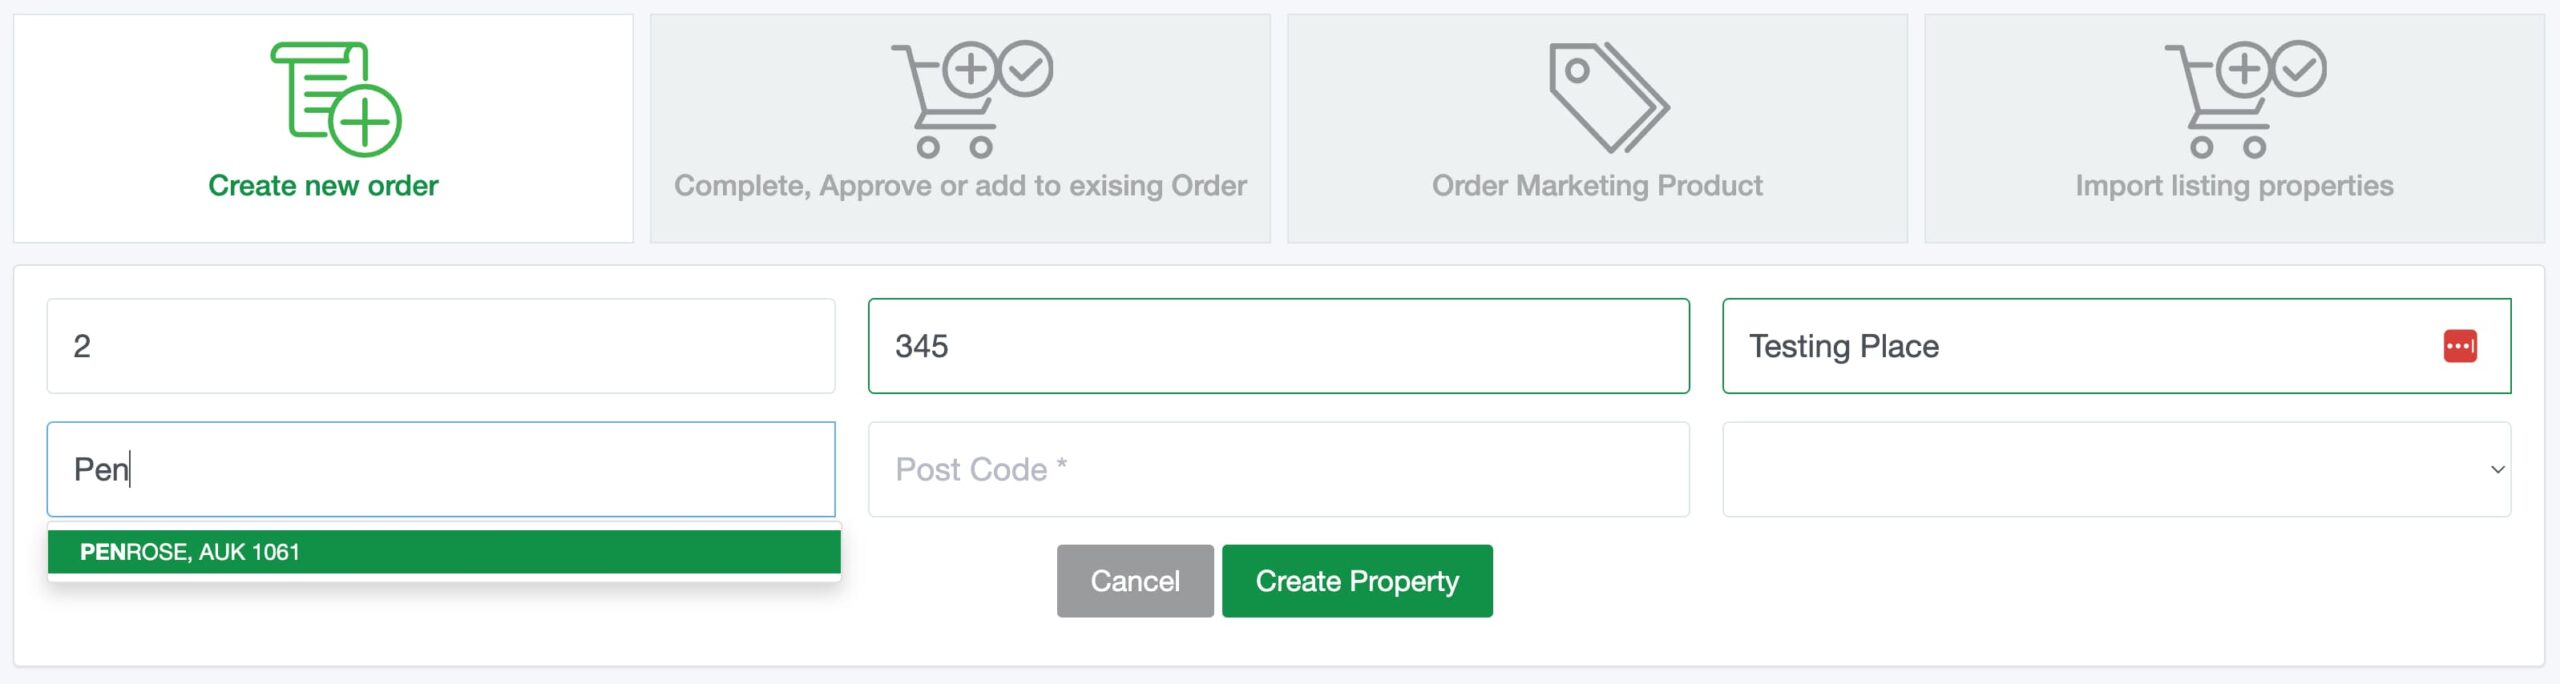
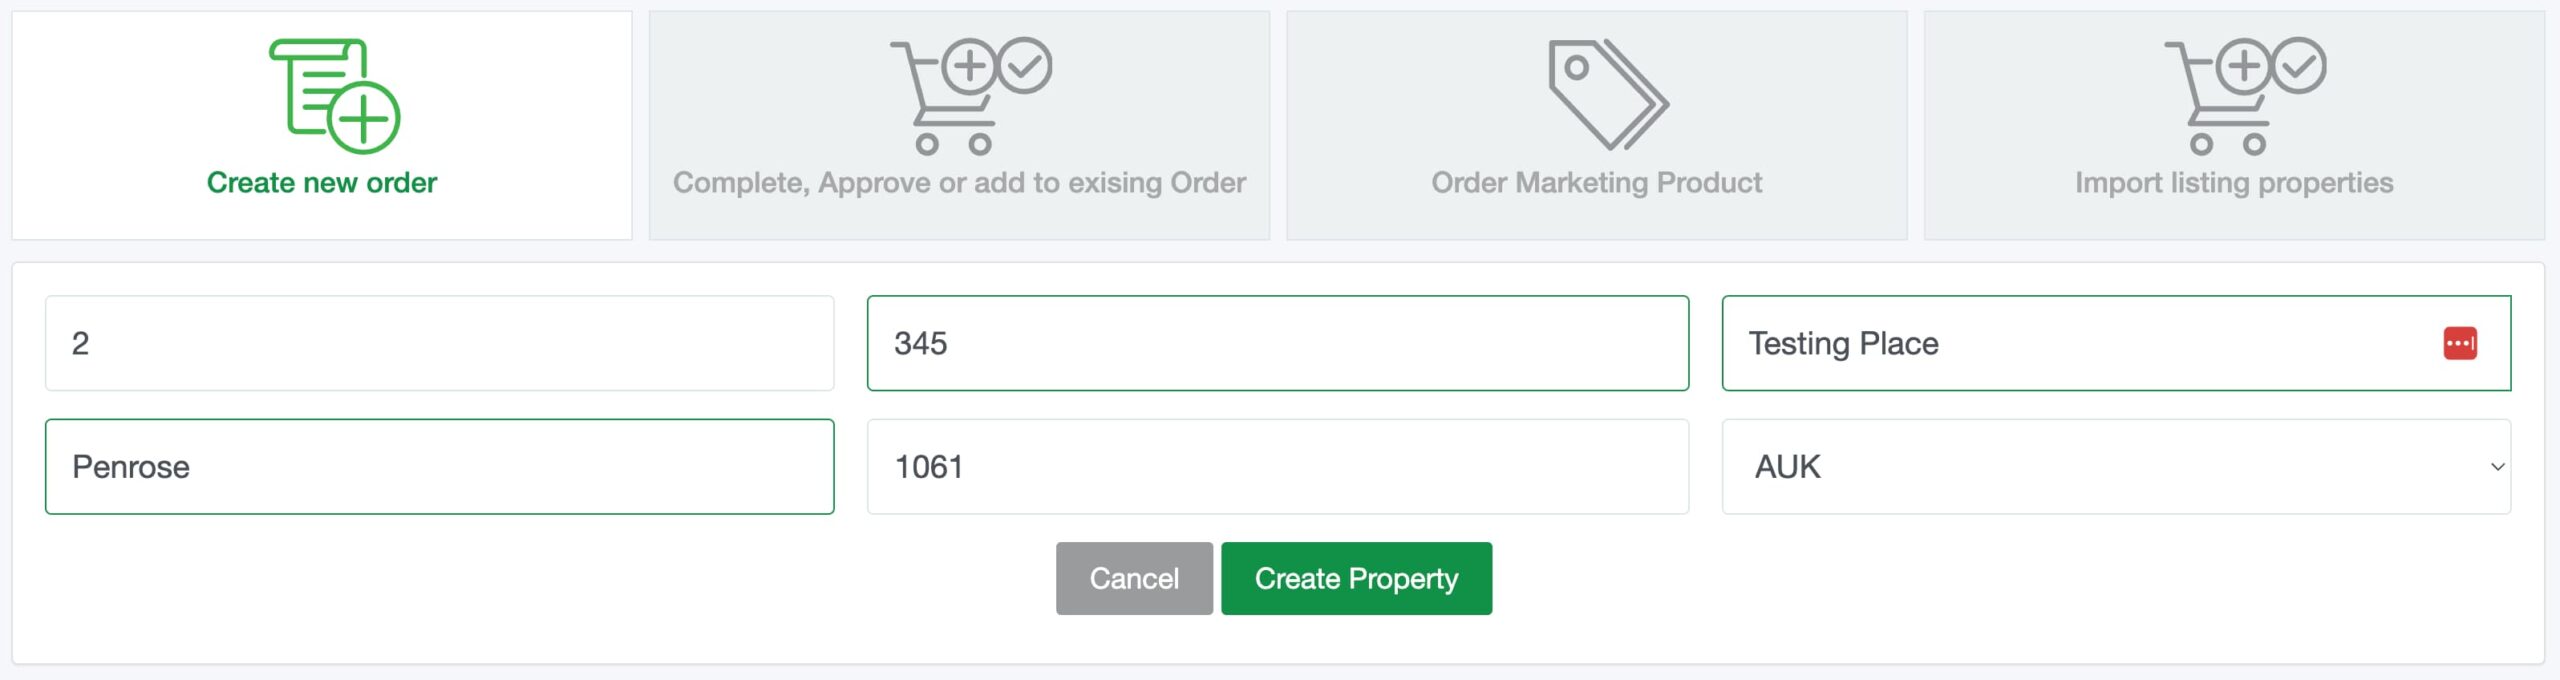
It is important that POSTCODE and REGION is allowed to auto populate to determine the correct regional manager.
If your suburb is not present please contact abc@photosigns.co.nz.
Already added properties can be selected by clicking on the Complete, Approve or add to existing Order tab.

By typing in the name or number in the Search Property box you will be presented with a list of available properties.
Select the property from the list and click Continue to be taken to the product selection page.
Click on the Order Marketing Product tab.

This will take you to the product selection page where you can place regular orders.
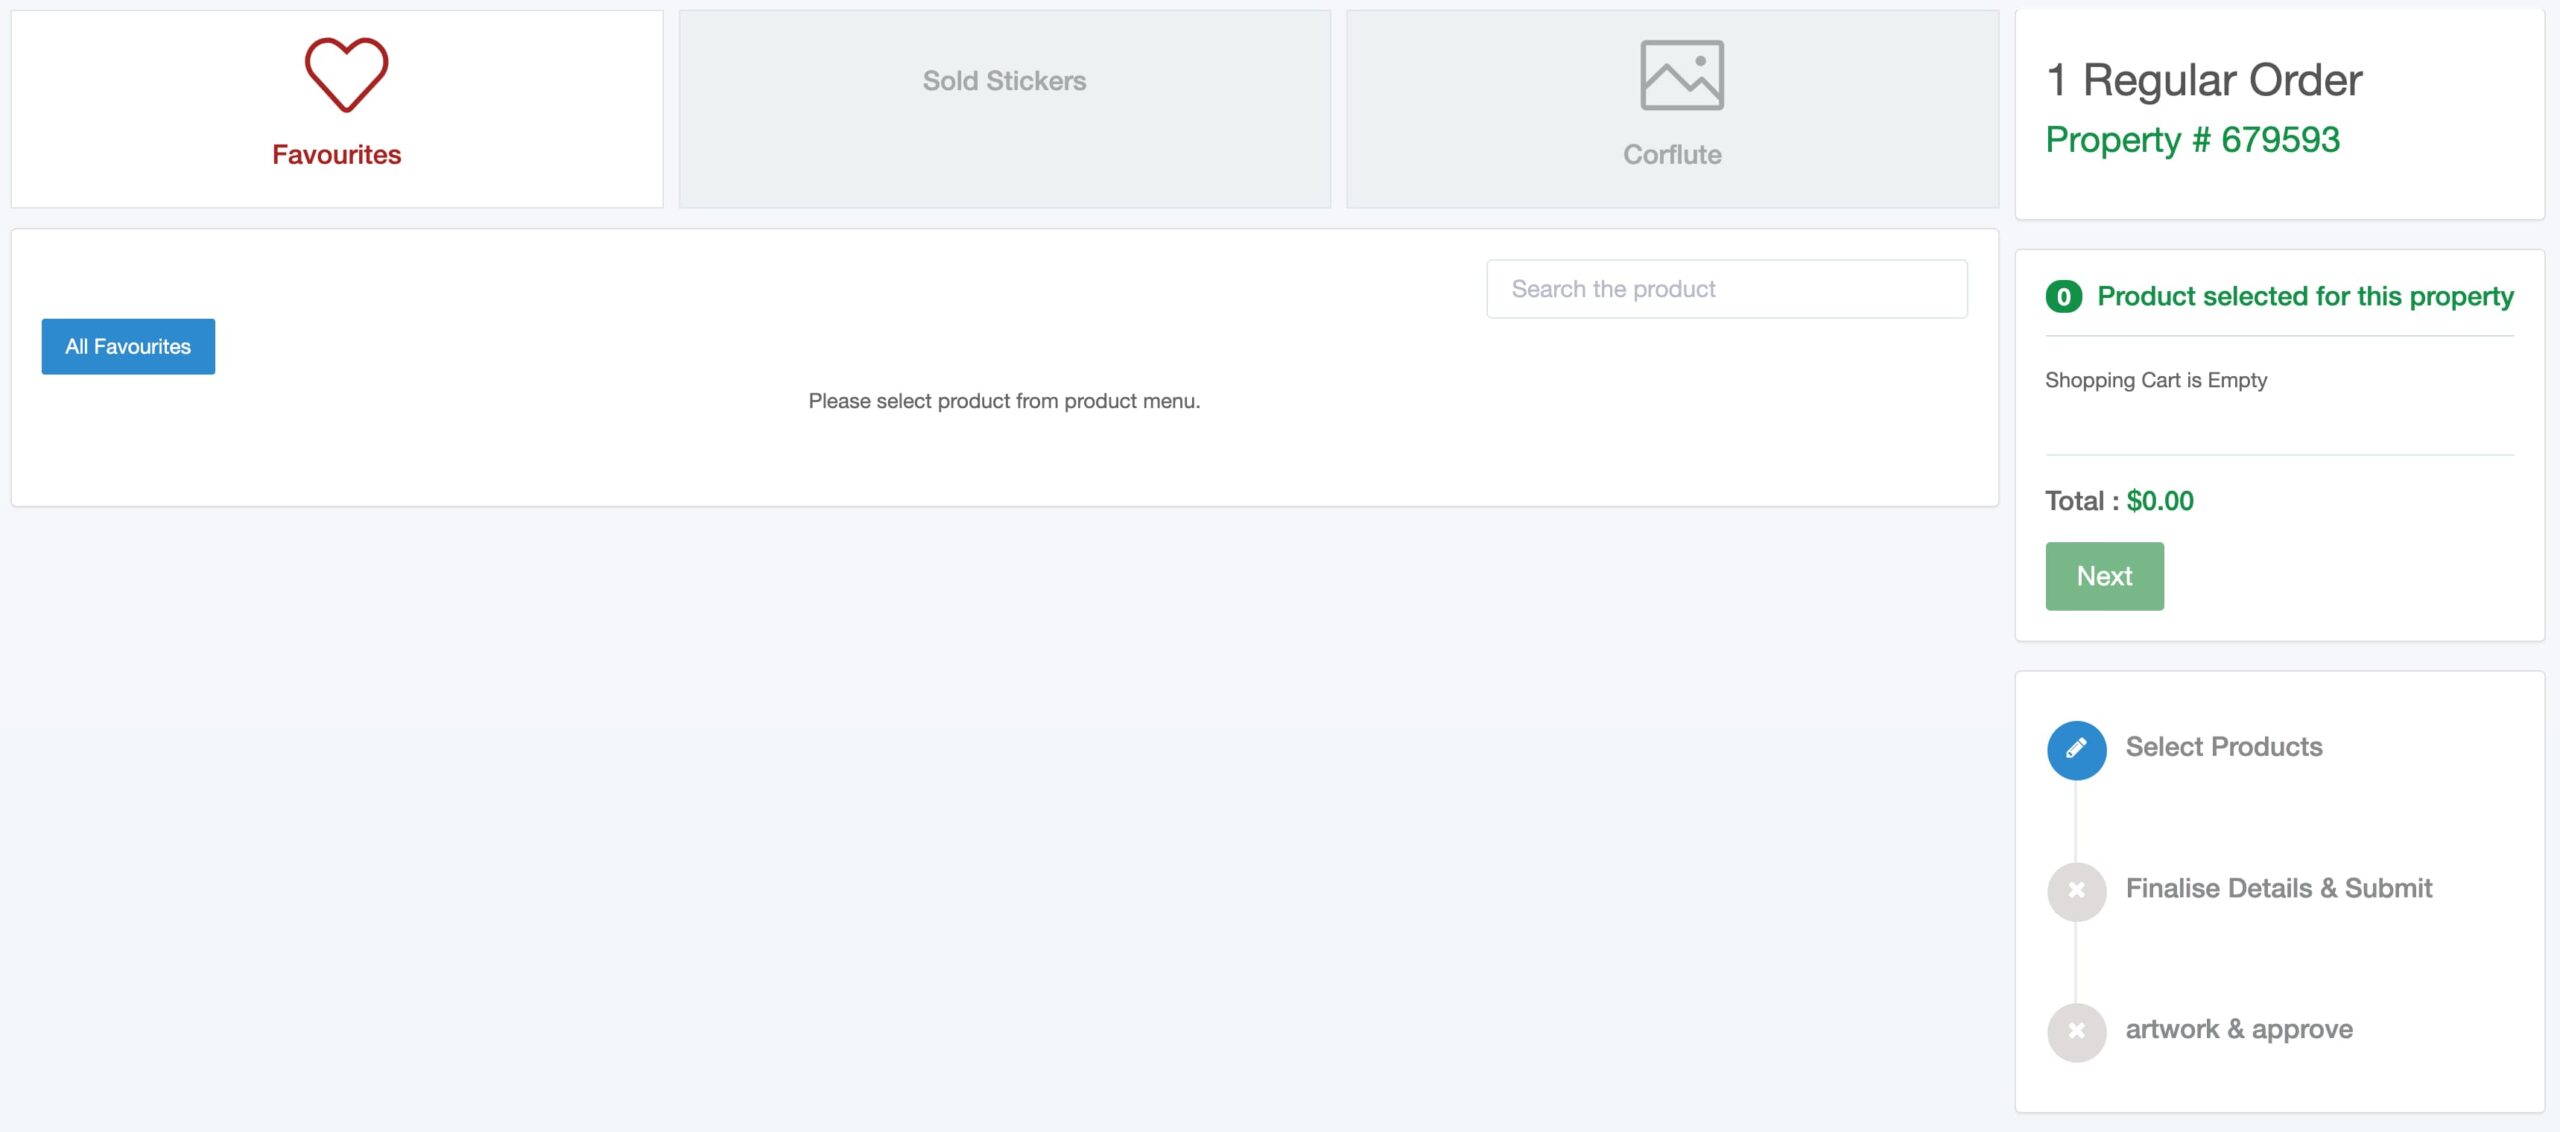
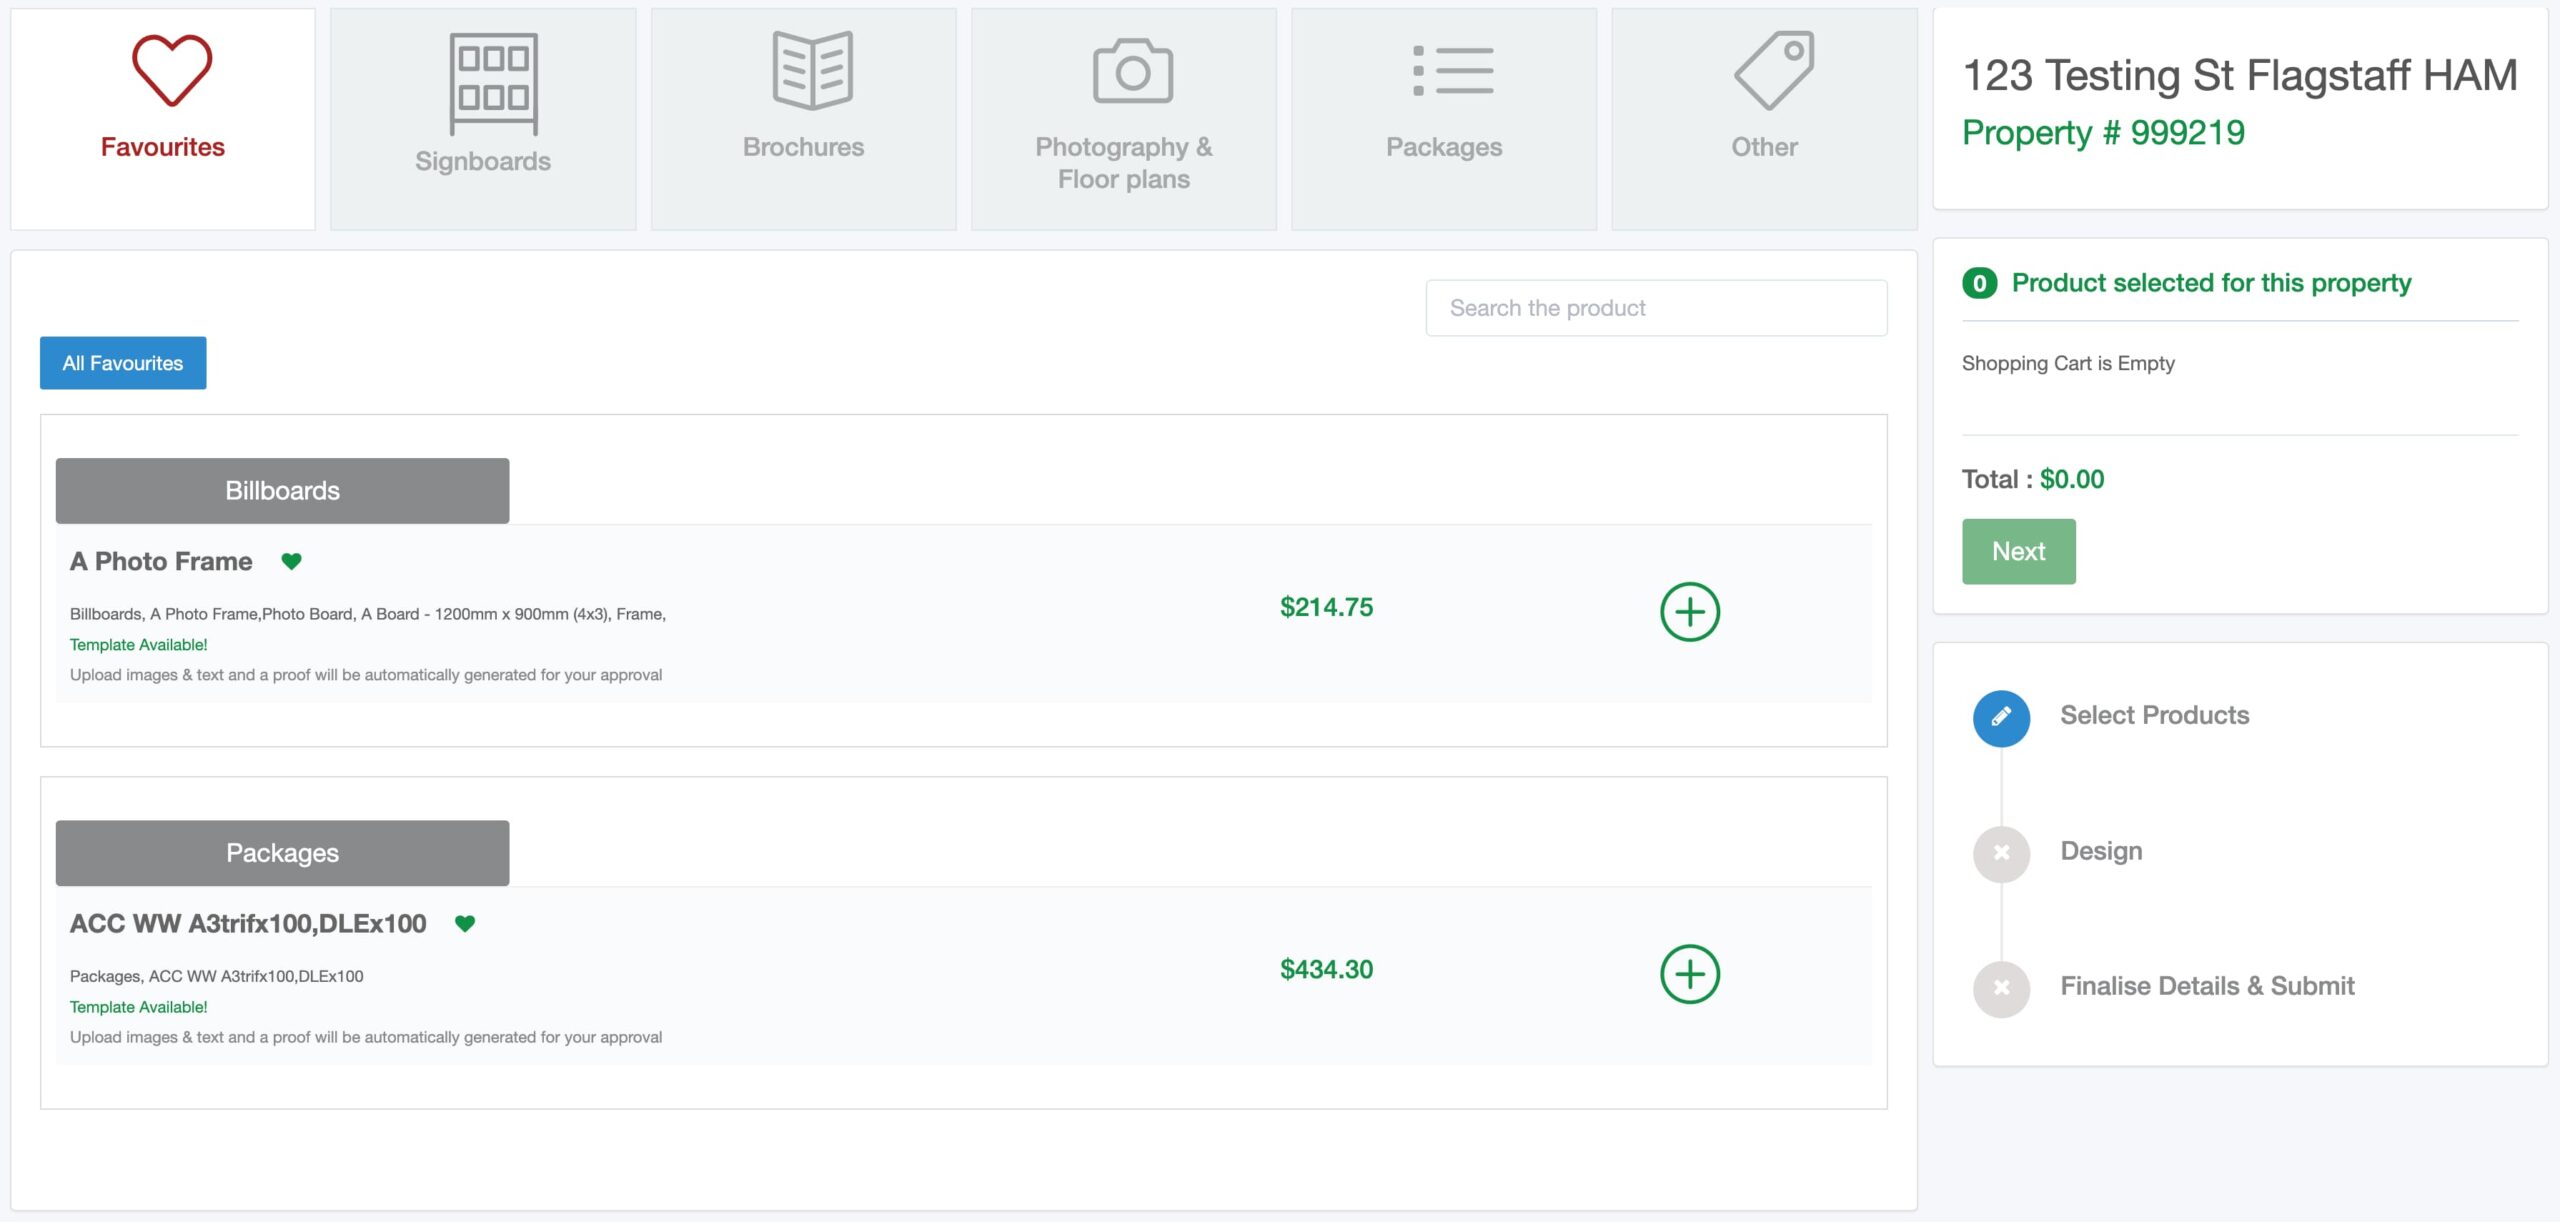
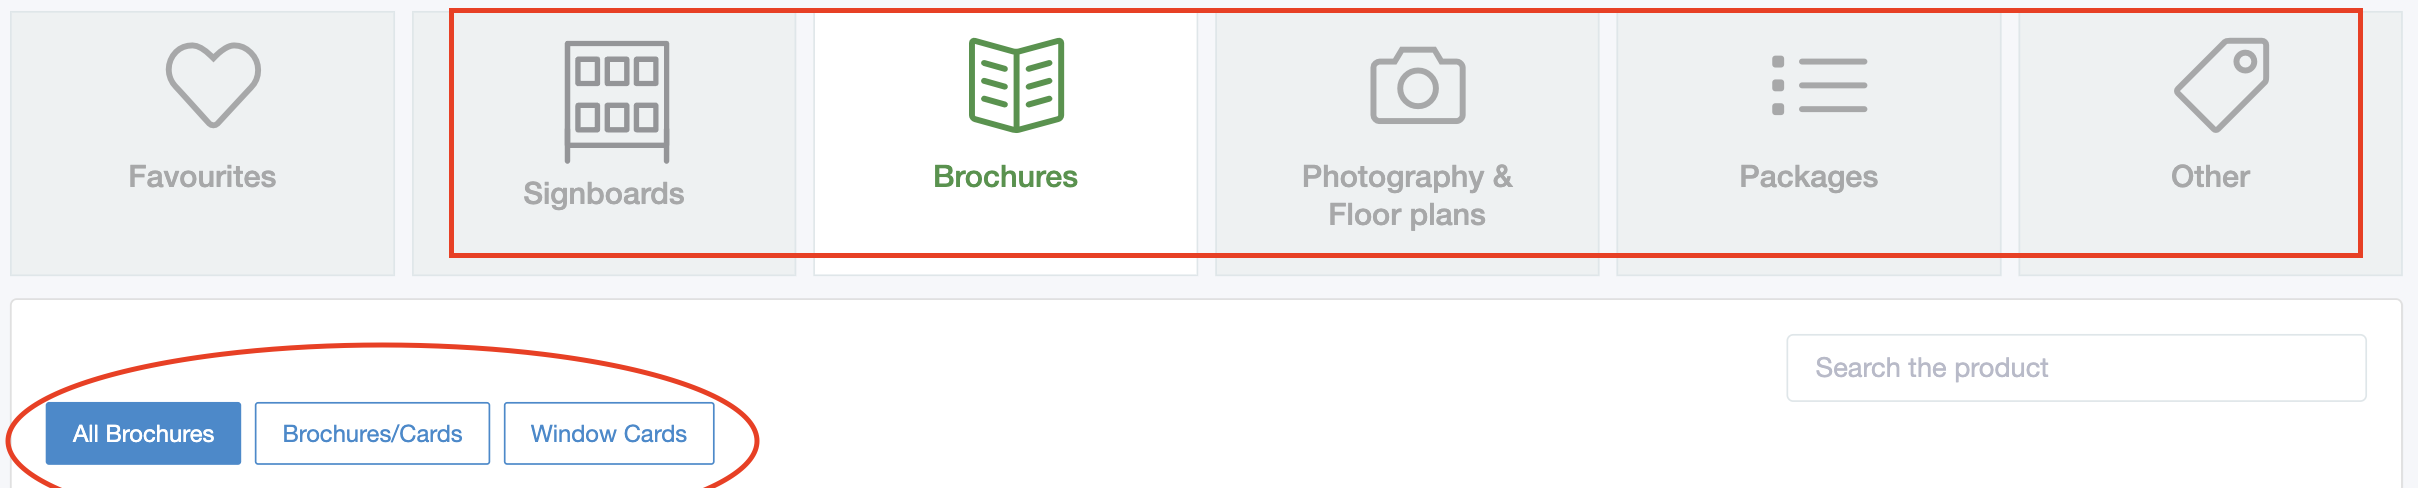
Product Selection
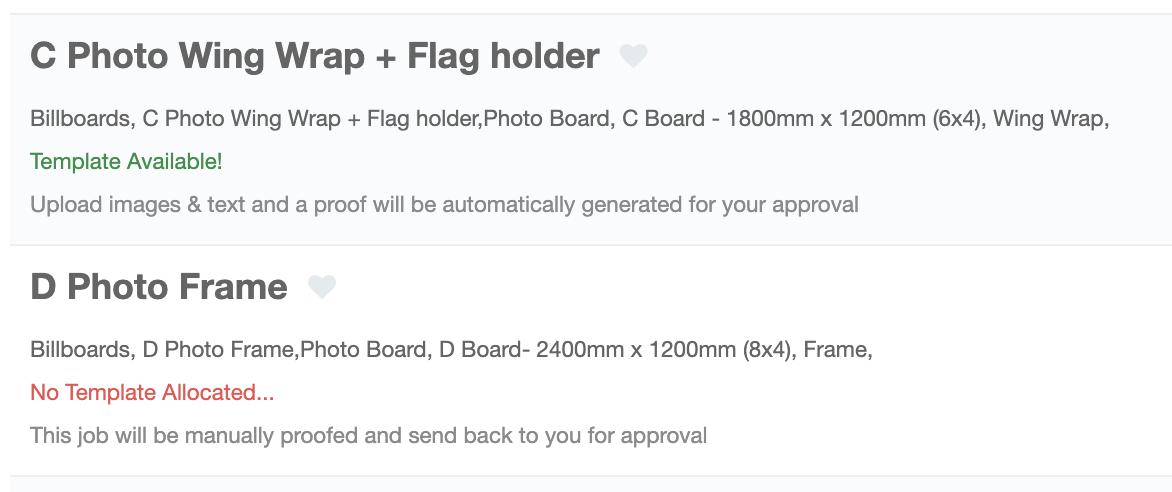
This page lists all products available to you. There are separate tabs for main categories and sub tabs for sub categories.
The right hand side of the page displays property details, cart and steps.
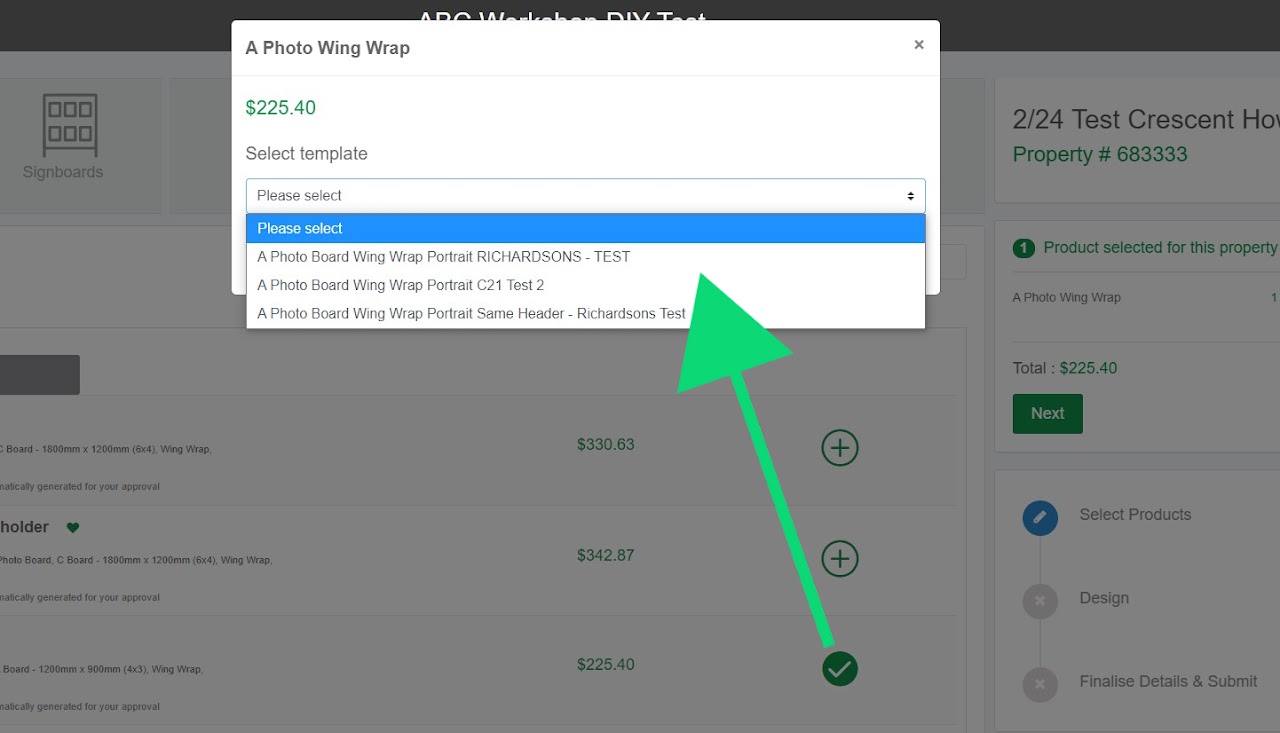
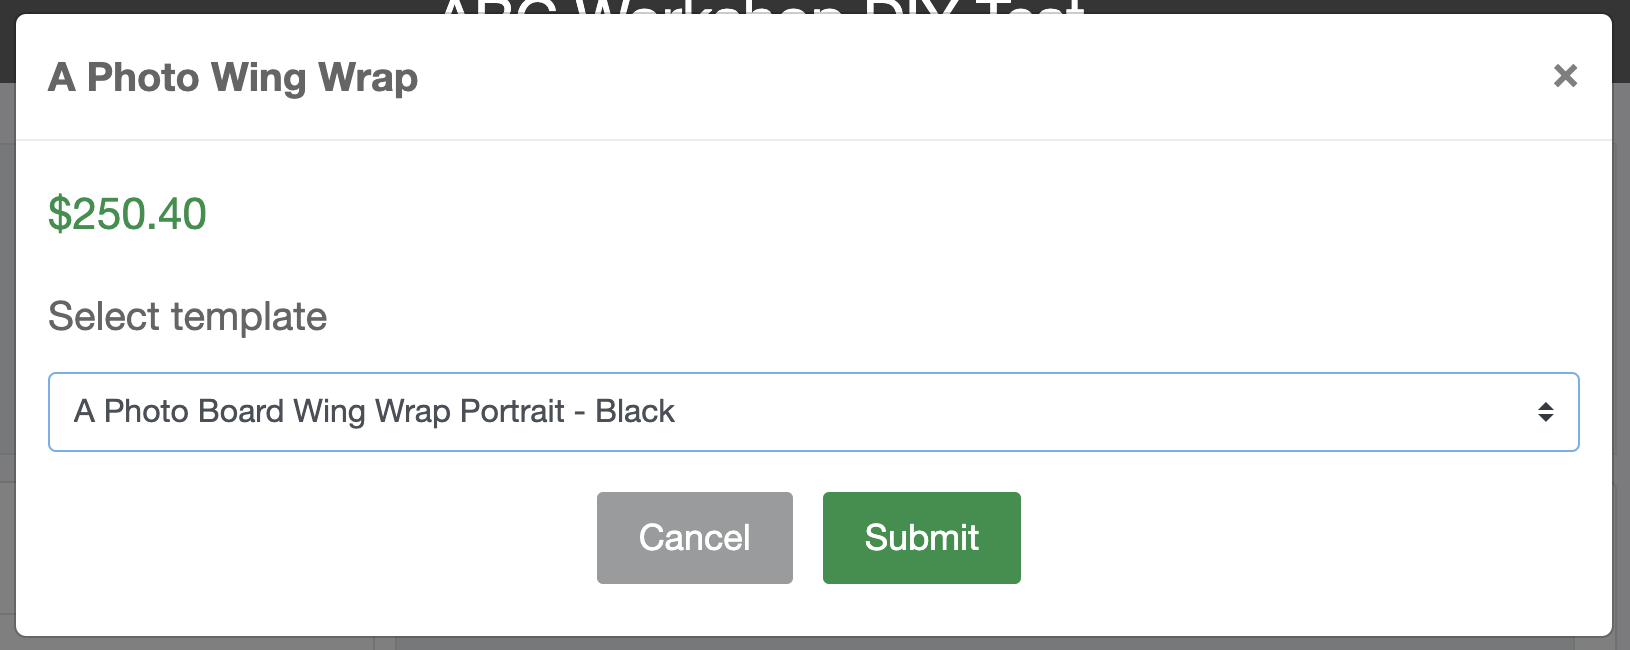
Clicking on the plus icon or product name will open the product form. Each category product has its own fields. Filling in the required fields and clicking submit will add that product to the cart on the right hand side.
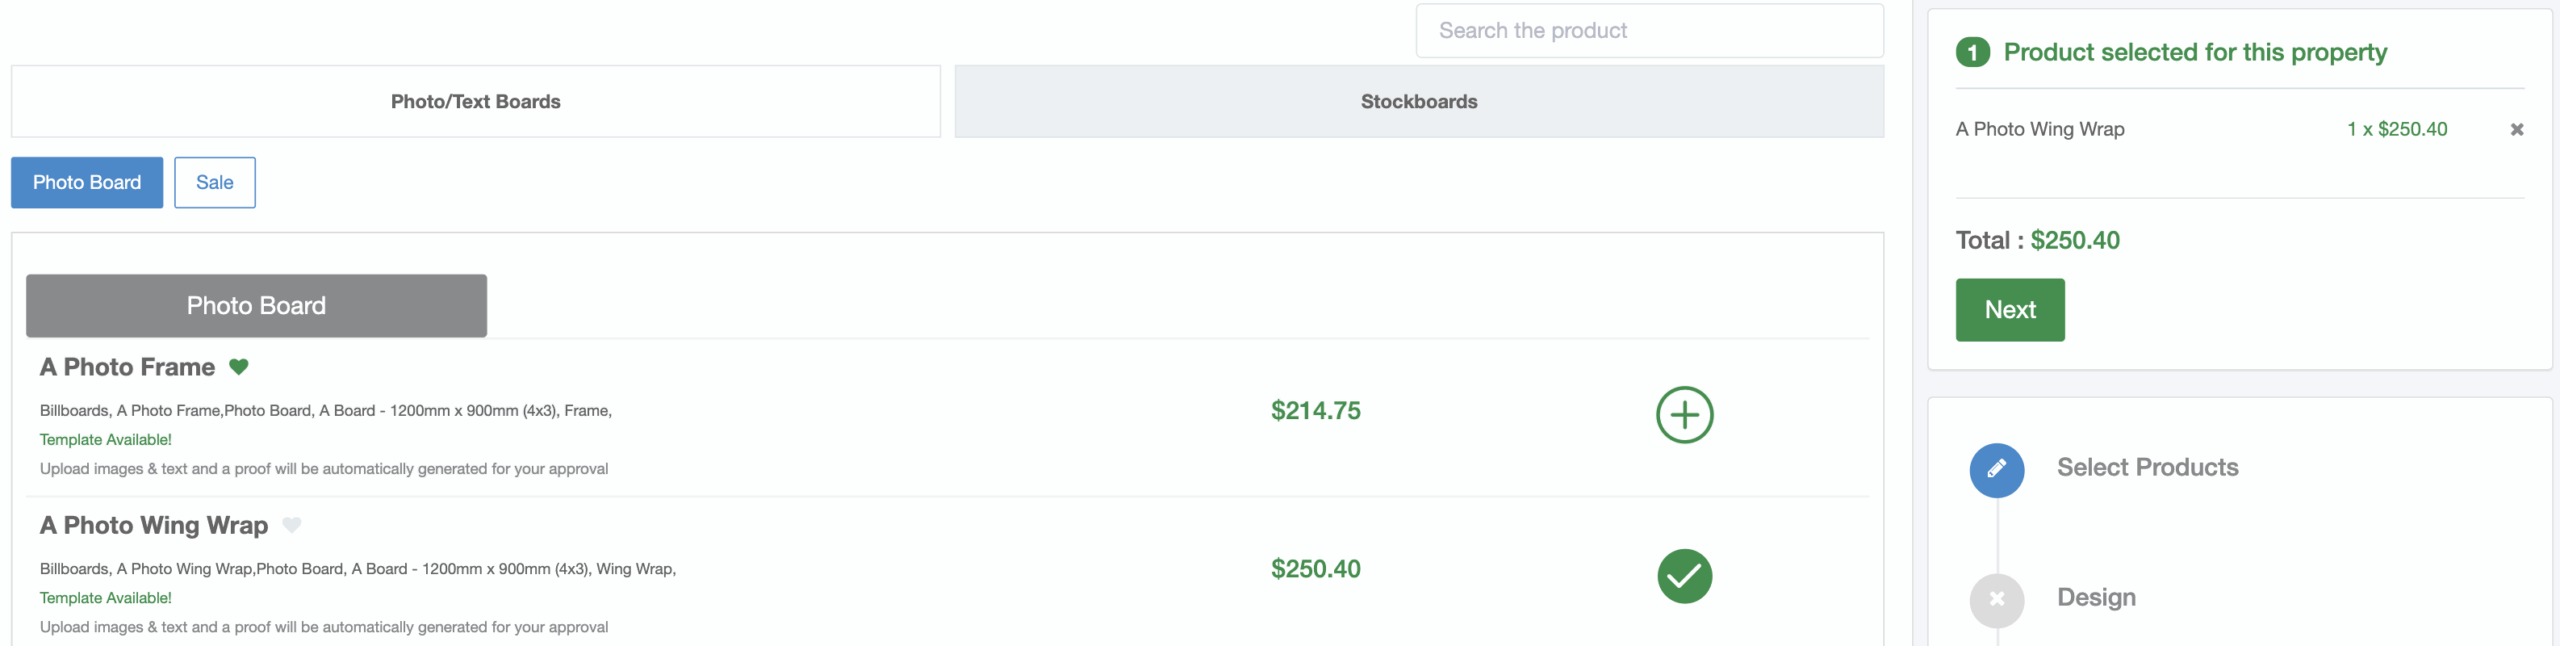
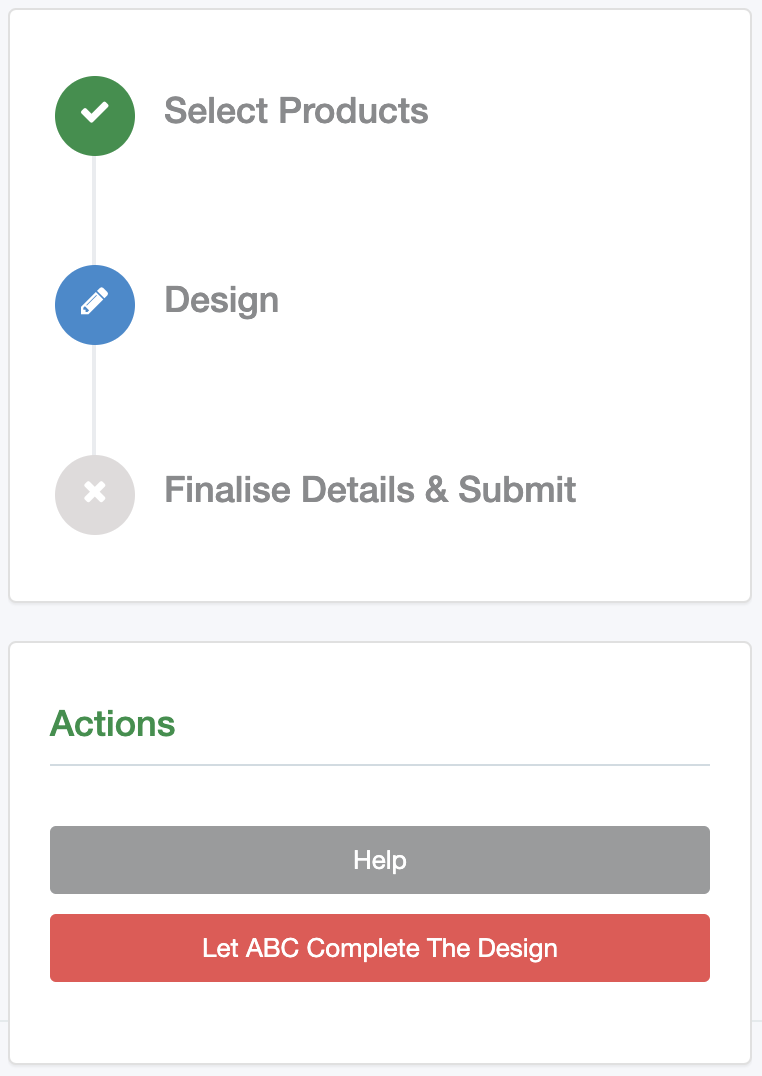
Next Page
Once your products are added in the cart, the Next button will become Solid Green to proceed to the next step.
If the product is DIY and has a template, then it will redirect you to the DIY Design page. Please refer to the DIY Design topic from the left hand sidebar.
If the product is DIY but has no template, then a popup window will open with options to request that ABC design one. Or you can upload your own print ready artwork.
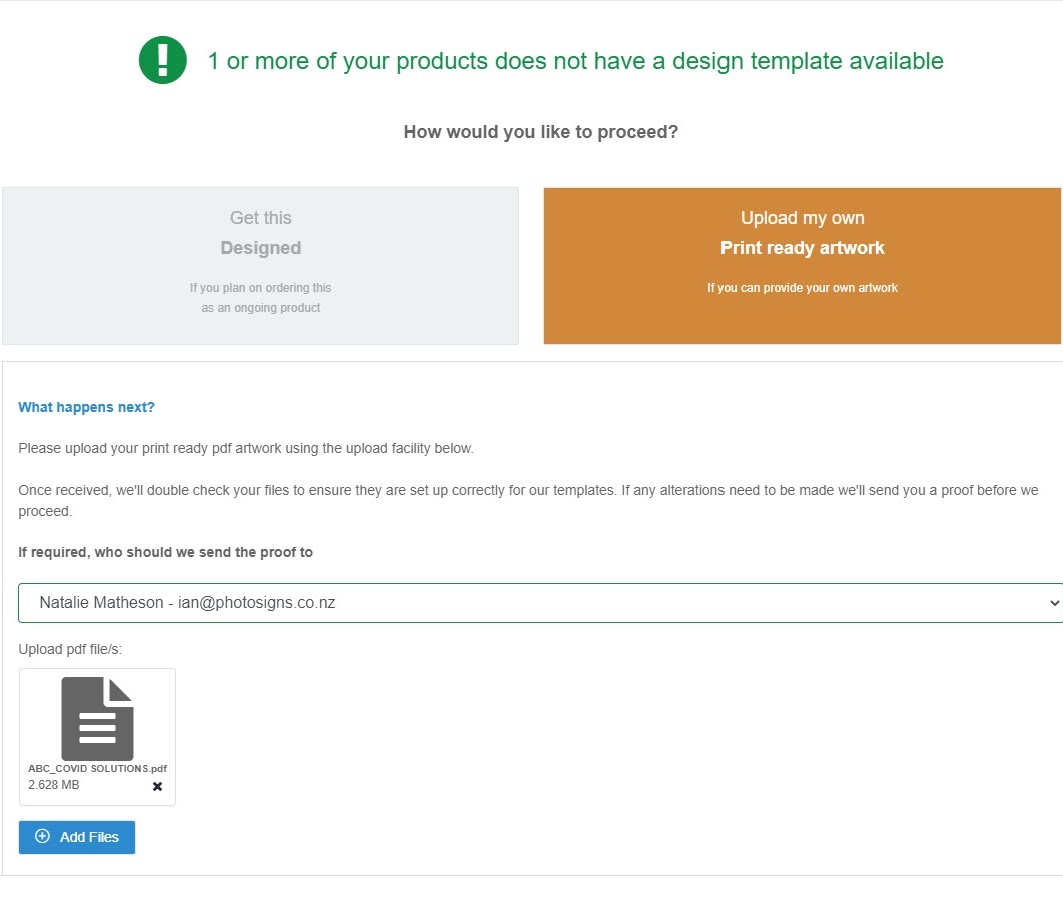
If the product you selected does not have a DIY template then it will open this window below.
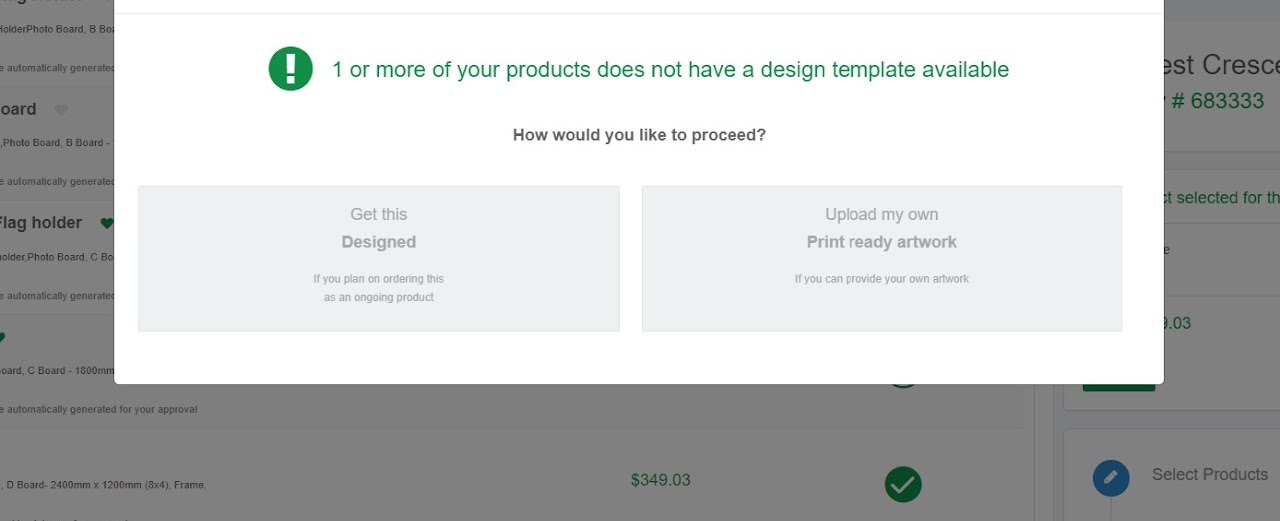
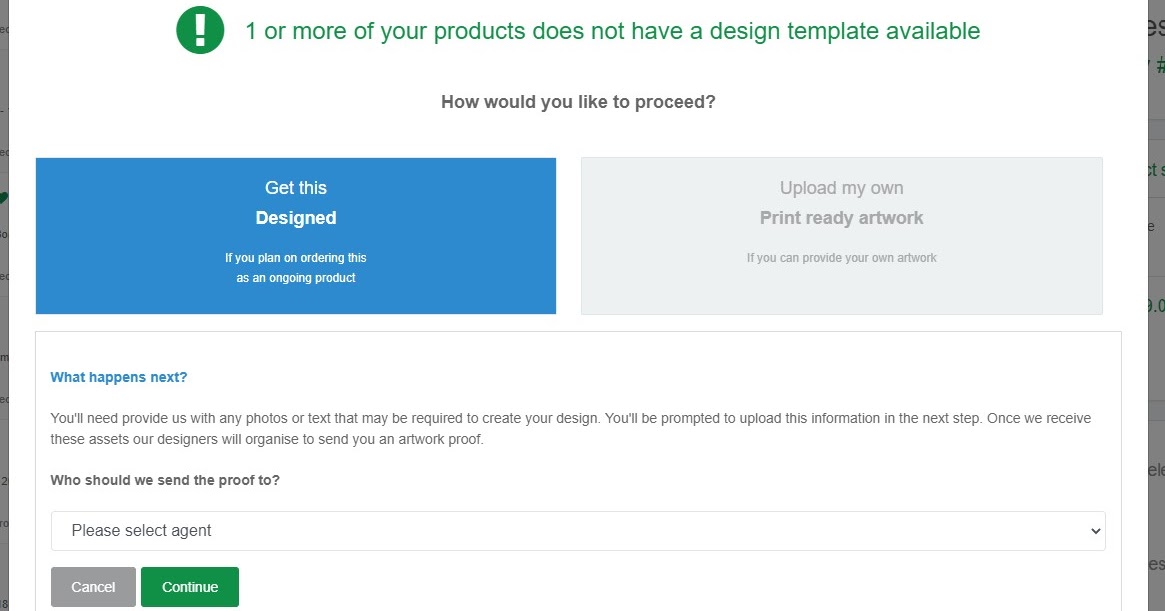
Option 1: Get This Designed
Choosing this option allows the user to request ABC to design a template. This will cause a delay in approving your artwork as we will create your sign and send you a proof for approval before printing.
Selecting agent and clicking on Continue will redirect you to the upload text and image page where users can submit text and images to prepare a template.
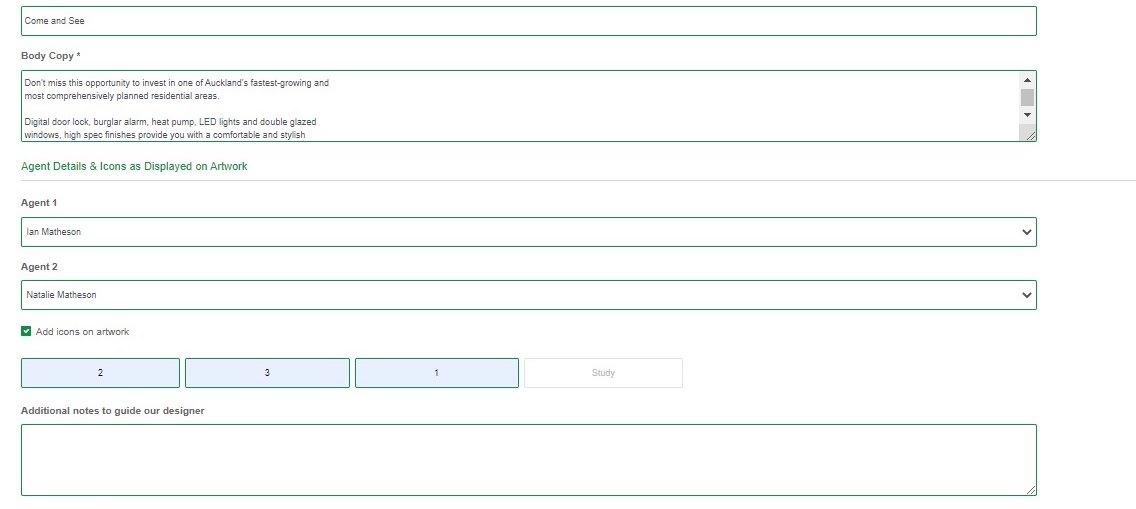
Uploading Text and Images for ABC to Design Your Template
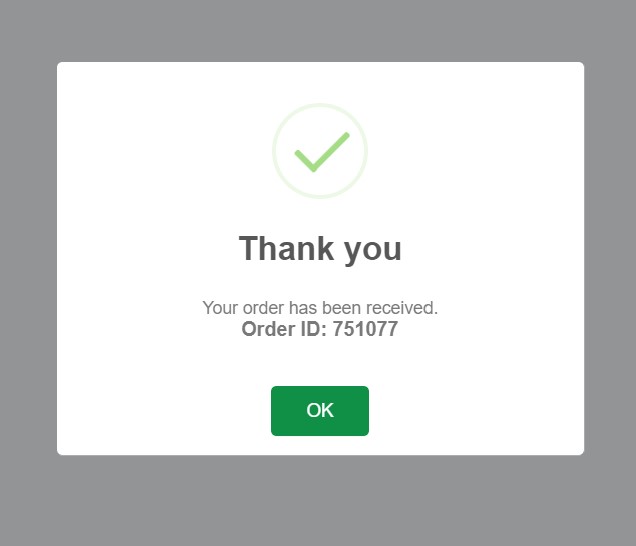
The Upload text and Images page allows you to enter text and upload images to create a new template. Once submitted it will create a unique Job ID# to track the status of your order.
Option 2: Upload My Own
Choosing this option allows you to upload your own artwork file. Once submitted this will create a Job ID# to track the status of your order.
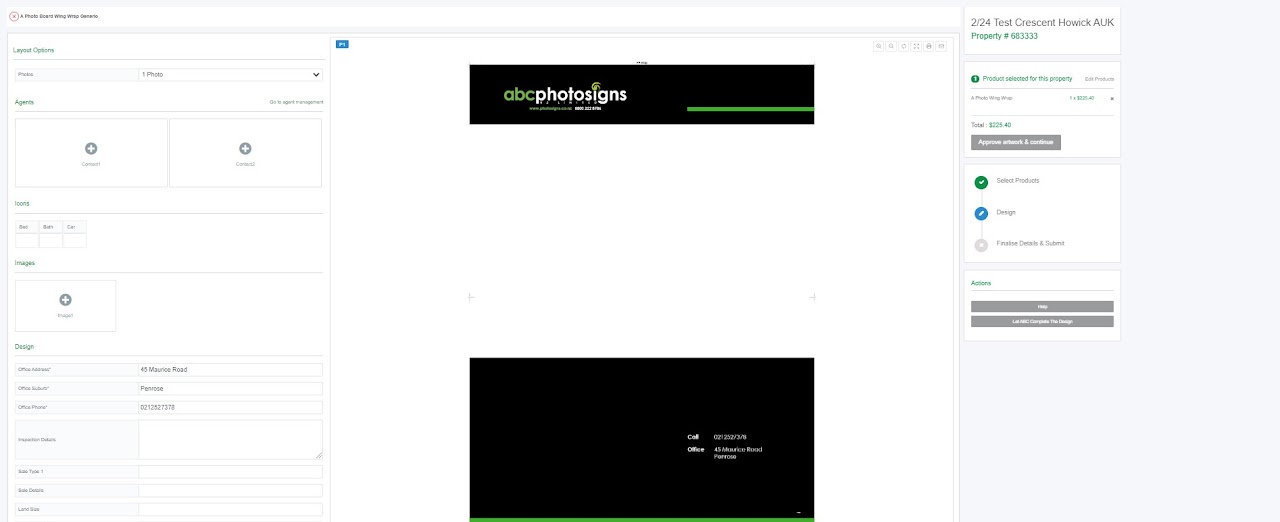
DIY Design
The DIY Design page allows you to select and enter fields and images for preview.
- The left-hand column displays forms to populate your template and the Save & Preview button at the bottom.
- The Middle section of the page shows a generated design preview with some actions on the top right hand side corner.
- The right-hand column displays job/property related information.
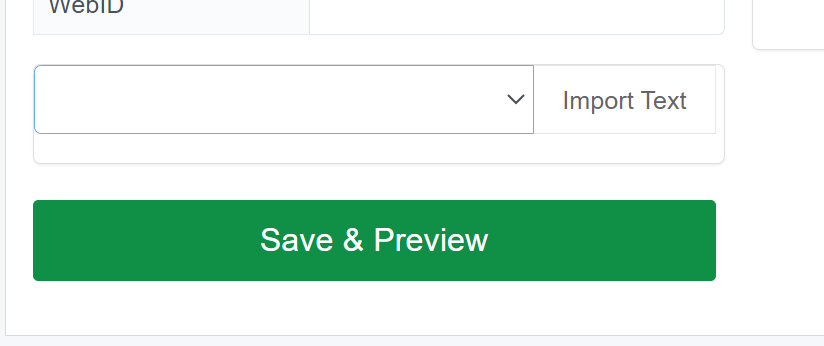
You simply enter the required details and click the Save & Preview button to generate a proof which you can print or email.
You can Save & Preview your design multiple times until the design is ready to approve. You can also save the page and return later to complete your order.
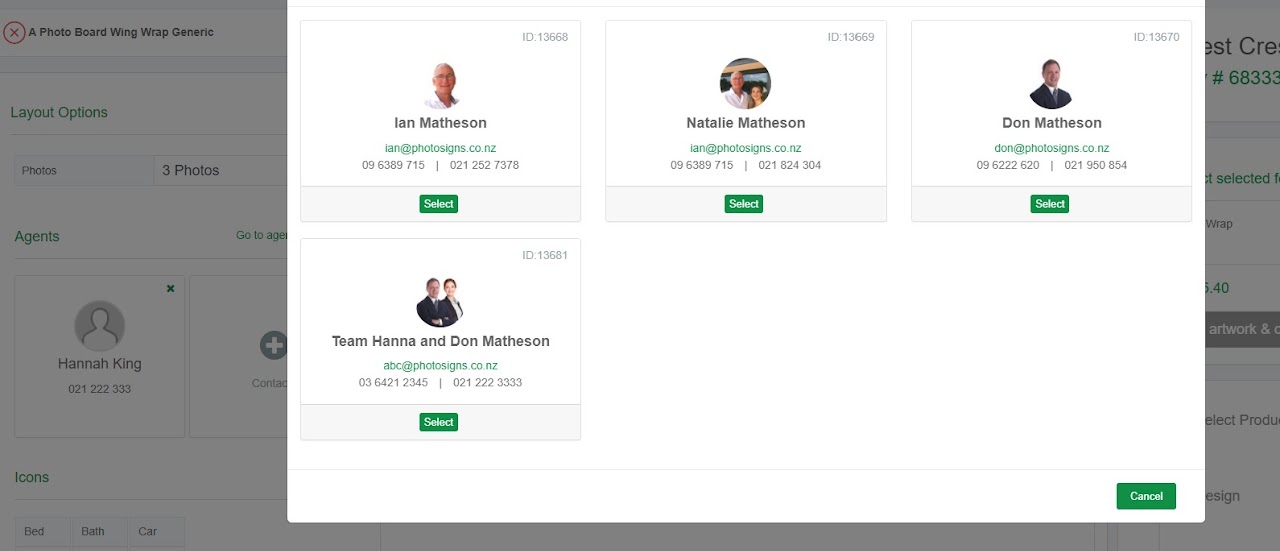
Clicking on the plus icon of contact will open the Select Agent page form where you can select agents from your office.
If your agent is missing you can add more agents by clicking Go to agent management.
This process only needs to be completed once and the agents details are stored for any future orders.
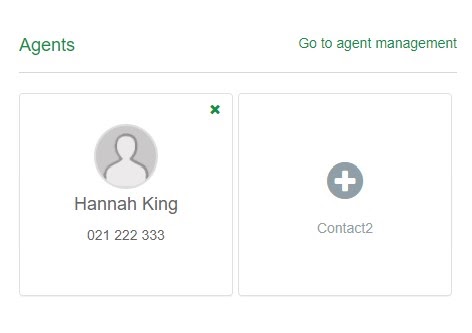
What if the Selected Agent Has No Photo Added?
The image above shows the selected agent without an image. If your template doesn’t display your image, it will show as blank. If your image usually displays on your sign it will show here. This field is set when your templates are created.
How to Enter Additional Agents
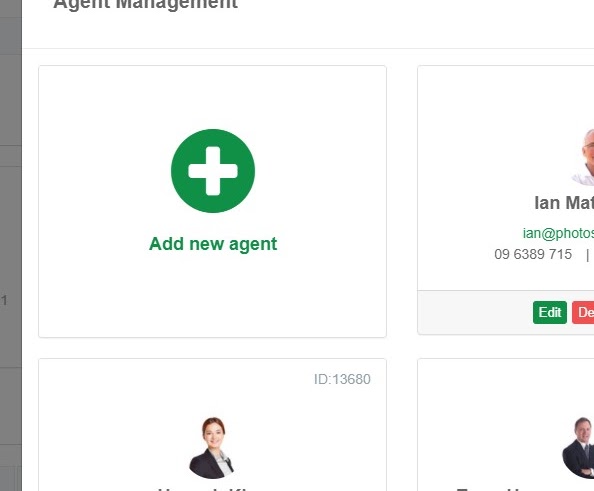
Clicking Go to agent management will open a pop up window where you can add additional agents.
Click the Video link to watch how to add new agents or follow the steps below.
Steps
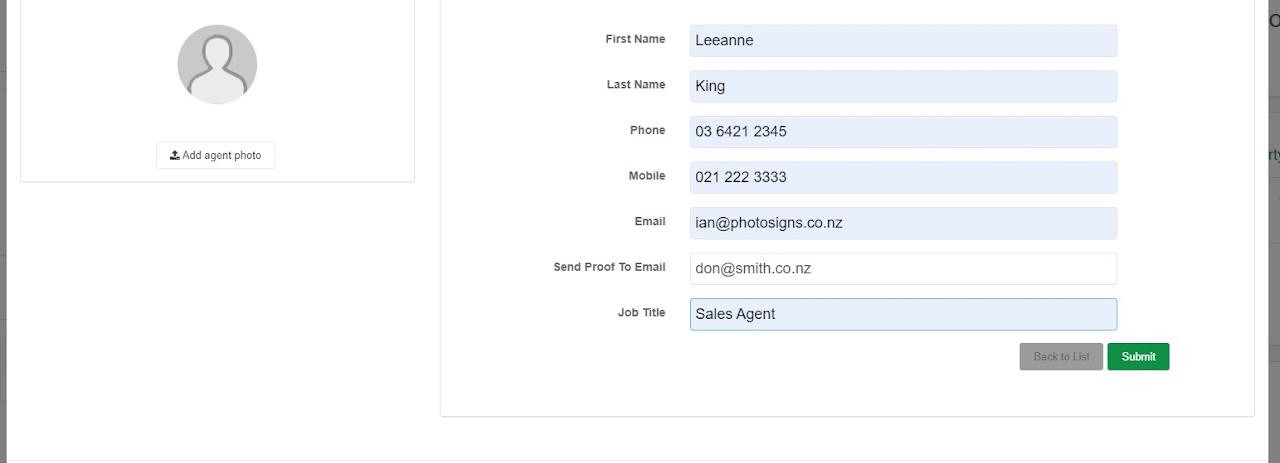
Click the Add new agent, fill in the details and upload their profile photo.
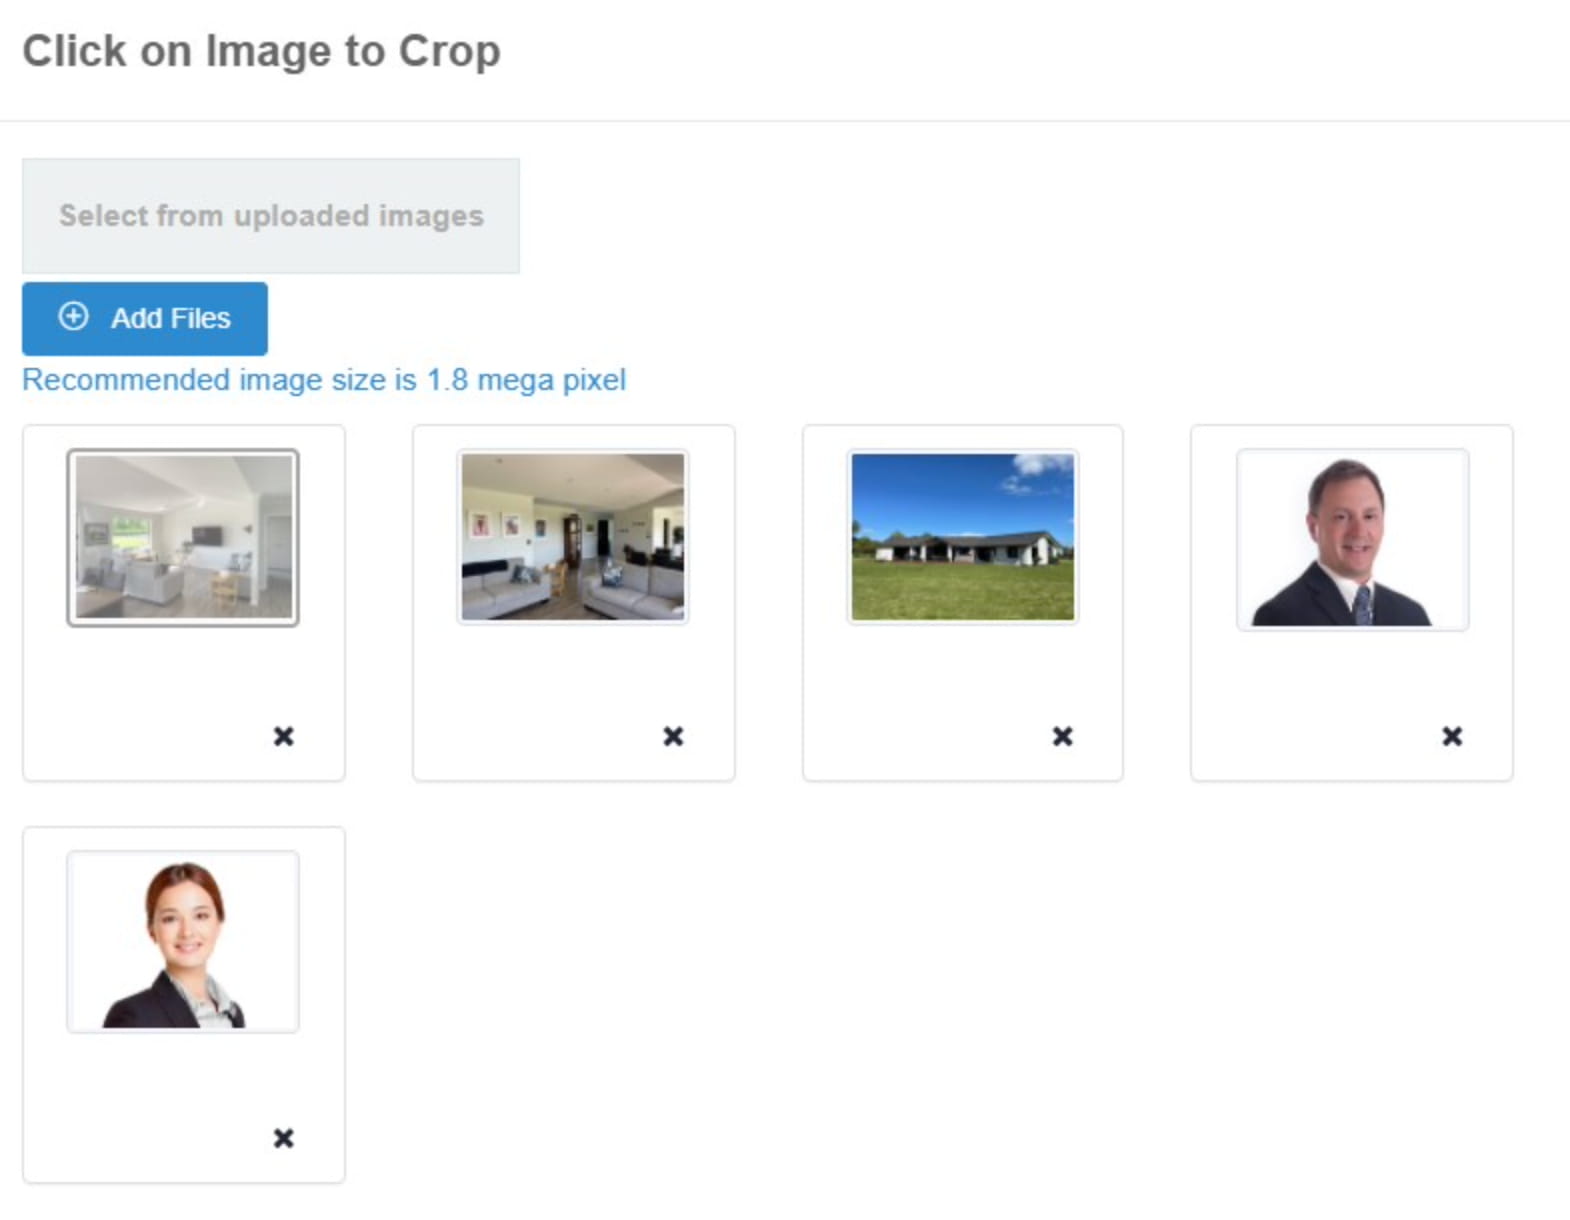
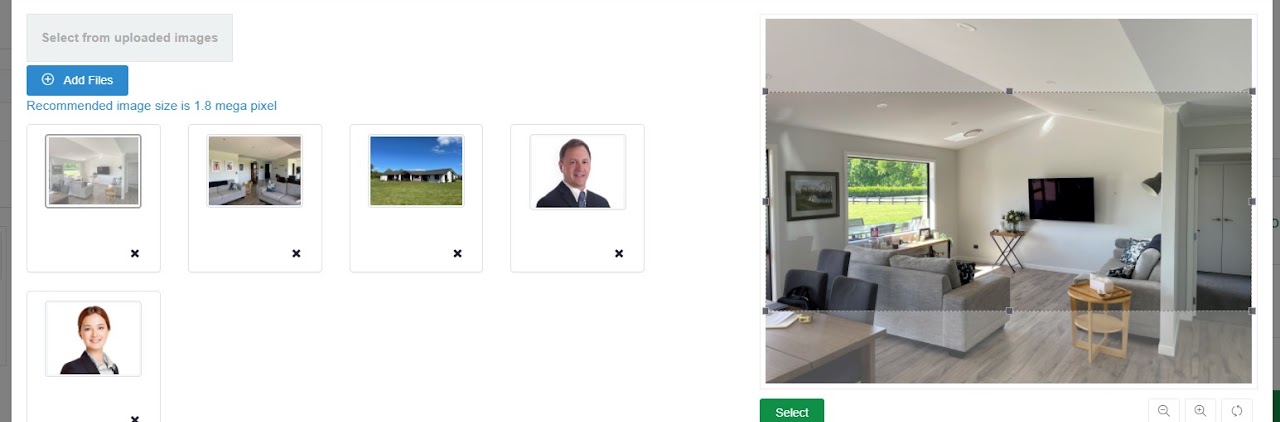
Once you upload your images they will display on the left hand side. You can select any image to crop. You can add additional images as you see fit.
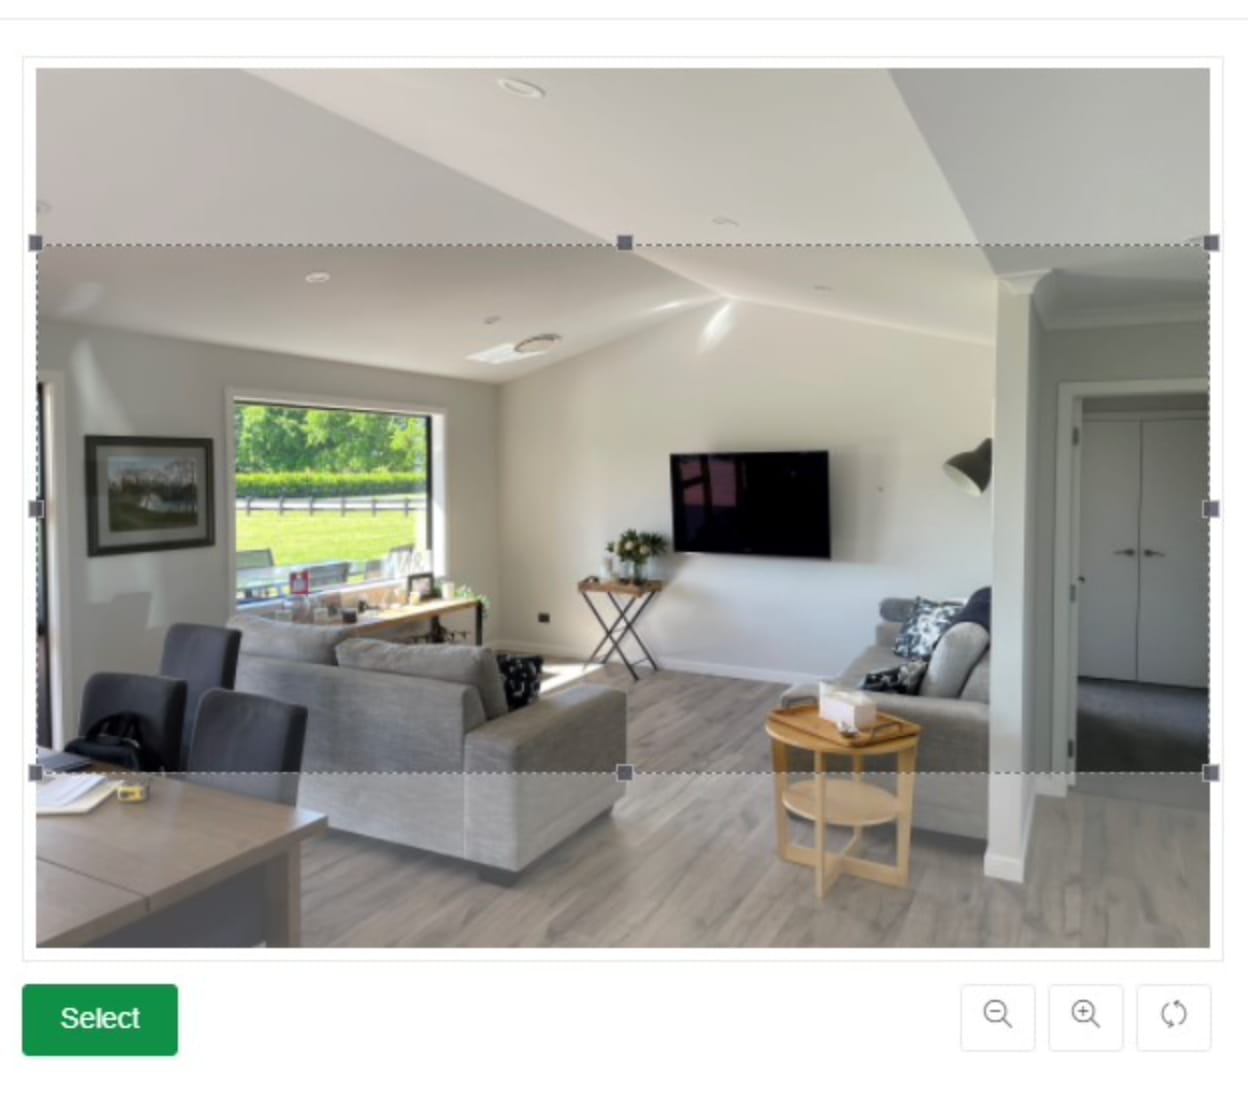
The selected image will display on the right hand side box which allows you to resize, scroll and crop the image. Click Select once cropping is done.
Display the Selected Image
The below image shows the selected cropped image thumbnails on the DIY design page on the left and the selected image on the right.
Please ensure the image is contained within the crop mark area - otherwise you will receive an error message when trying to Save & Preview.
Save and Preview
Enter any compulsory fields (marked with an *) along with optional ones.
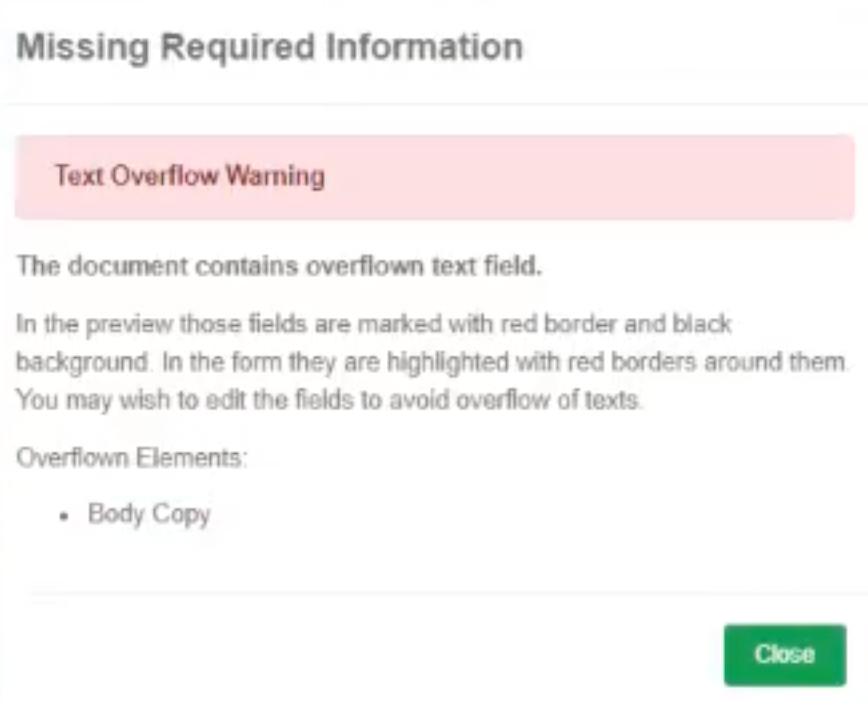
If you enter too much text, it will show a TXT Overflow error. You will then be required to reduce the amount of text before continuing.
TIP | If you are completing multiple items such as a DL flyer and a signboard - for example an ABC Package - you can copy the text from the first item to the same fields in the next. This feature is located at the bottom left of the layout options.
Save and Preview Completed
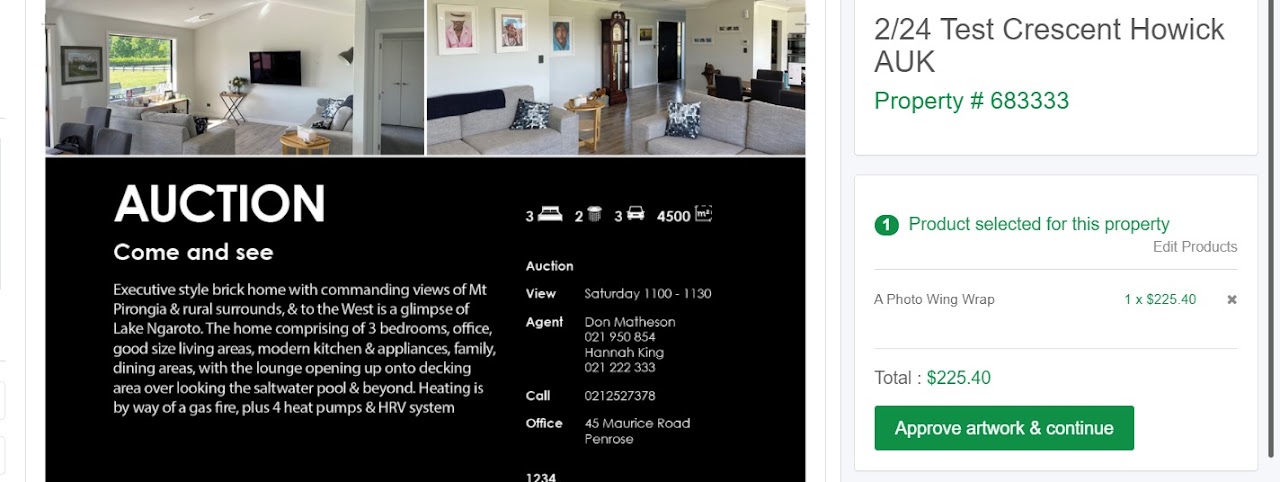
Once your proof is generated without any errors, it will display your proof in the middle section of the page. It will also enable the Approve Artwork & Continue button for you to proceed to the next step.
You can email, view on full screen, zoom and print this proof.

This is the final step of order processing. Fill in necessary details and submit your order.
The default is your office address unless otherwise specified.
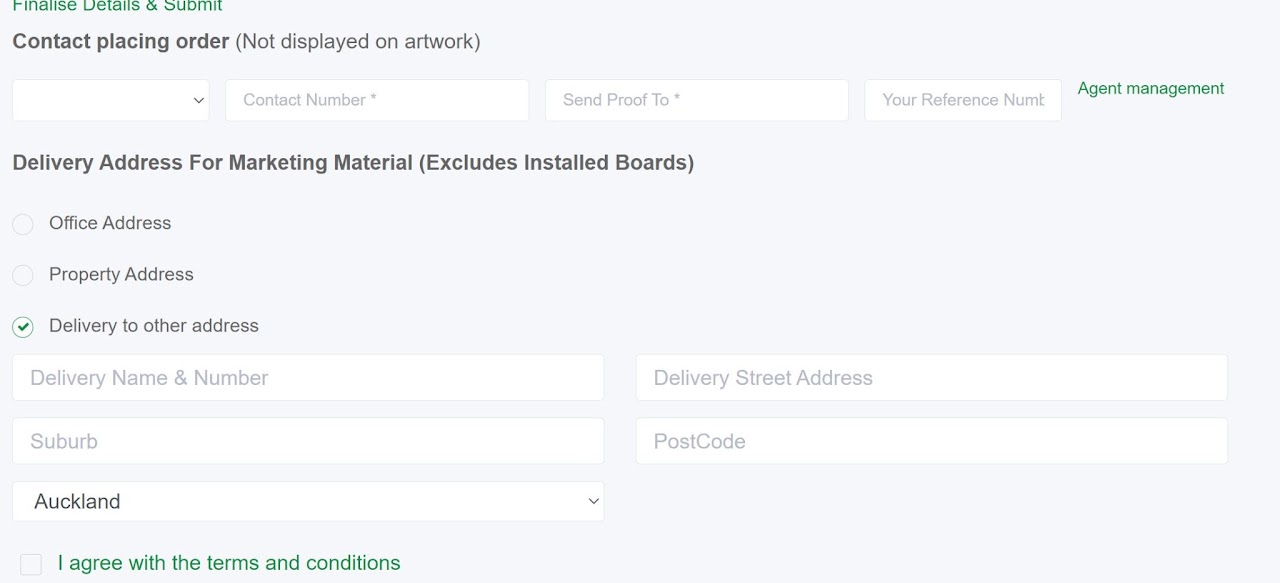
You can add any installation photos and specific install instructions for our installers to view when installing your sign. A photo with an X marks the spot avoids any confusion.

Important Note: By clicking and agreeing to the Terms and Conditions your job will now be approved and sent to Print.
TIP | If you wish to ask us to modify your artwork DO NOT ASK FOR THIS HERE. See below for instructions on doing this.
This process requires our design team to look at your artwork so please allow sufficient time for our team to process your order.
Please note: This process may take time depending on our current workload and a proof will be sent for your approval before we print any artwork.